Configure Active Directory on Windows Server 2016

Below are detailed instructions on how you can setup Active Directory on your Windows Server 2016.

Sections on installing Active Directory.

Note: You can only do the steps below if you are an Administrator of your Windows Server.

Change the Computer Name

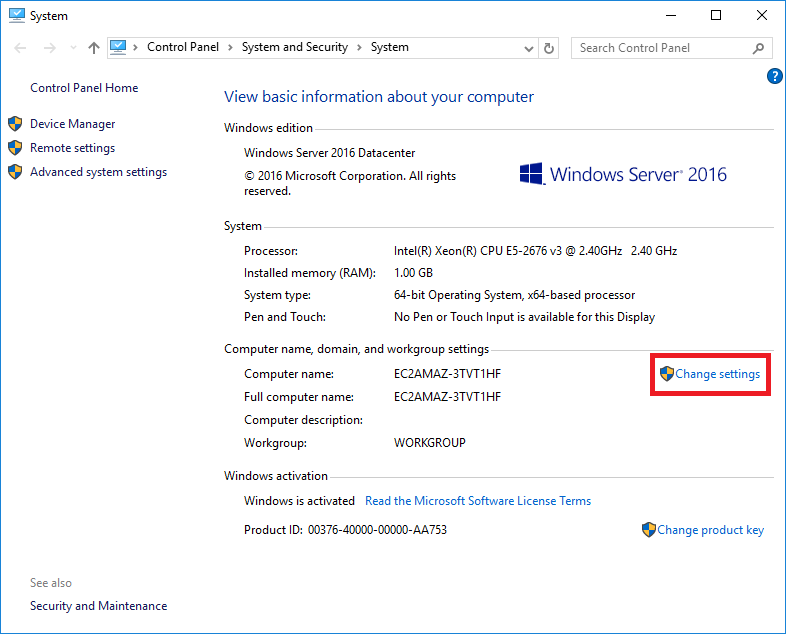
This is an optional step, but I would highly encourage you to do this so that your computer name will not be like EC2AMAZ-3TVT1HF, but a more descriptive one.

In this case since I am going to use the computer that we will setup as an Active Directory Domain Contoller I shall name my Windows Server as DC01.

In fact, you will have a lot of problem if you rename your computer after installing Active Directory. So better do it now before continuing to the next step.

Follow the steps on my post to change the Computer Name of your Windows Server 2016.

For now check the System Information page of the Windows Server.
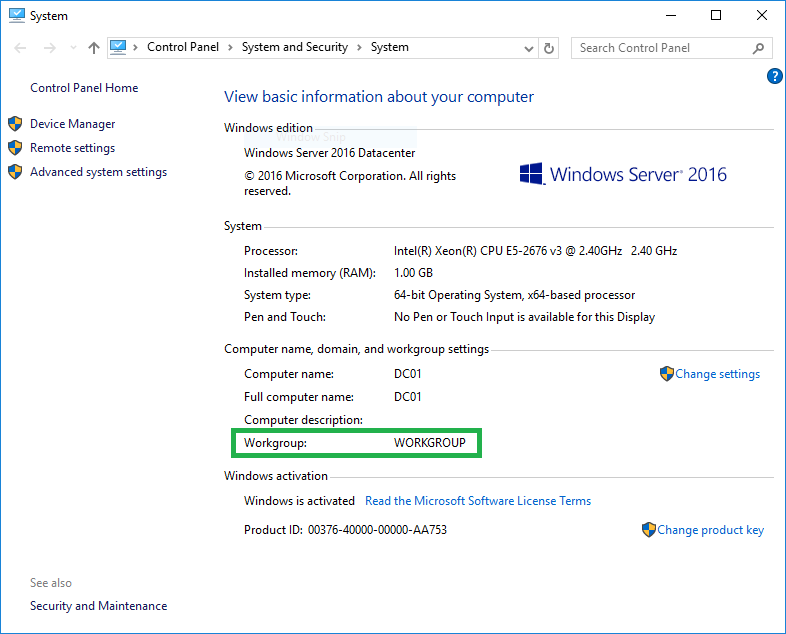
Note the Workgroup.

Install Active Directory Feature

Now that we have updated the Computer Name of our Windows Server we can now start installing Active Directory.

Click on the Window Icon on the bottom-left side of the screen. Click Server Manager from the Menu.
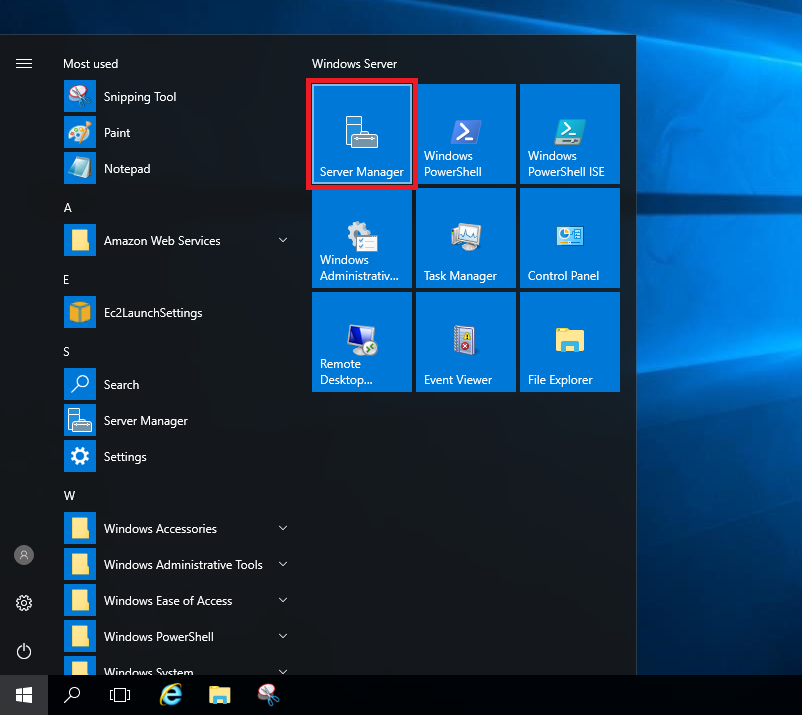
On the Server Manage Window click on Add roles and features. Continue reading Configure Active Directory on Windows Server 2016
Changing the Computer Name of Windows Server 2016

Every time I launch a Windows Server on AWS or Google Cloud it always provides a random Computer Name. As a good practice I always want my computers to be named descriptively.

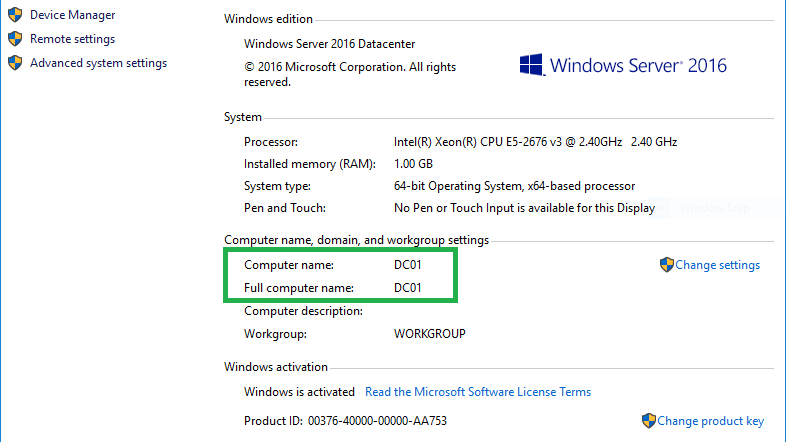
In this case I would like to update my Windows Server 2016 Computer Name to DC01, which means Domain Controller 01, since I will be using this server for Active Directory.

Below is a step by step guide on how to rename my Windows Computers to a more descriptive name.

Renaming the Windows Computer

Right-click on the Window Icon on the lower-left of the screen. Then click on System.

On the System Information Window, under Computer name, domain, and workgroup settings click on Change settings.

Continue reading Changing the Computer Name of Windows Server 2016

Installing MySQLdb for Python 3 in Windows

My favorite Python connector for MySQL or MariaDB is MySQLdb, the problem with this connector is that it is complicated to install on Windows!

I am creating this article for those who want to install MySQLdb for Python 3 for Windows. Especially me, since each time I am doing a Python project that needs to connect to MariaDB or MySQL I always look on how to install MySQLdb.

If you are interested why I prefer MySQLdb compared to other MySQL connectors you may want to read the comparison of MySQL-connector and MySQLdb from Charles Nagy.

Problems with installing MySQLdb on Windows

You can actually install MySQLdb using pip. See pypi documentation here.

pip install MySQL-python

Unfortunately, the pypi documentation is already out of date with the latest release was on Jan 3, 2014. Continue reading Installing MySQLdb for Python 3 in Windows

Making an Off-Screen Window Appear in Windows 10

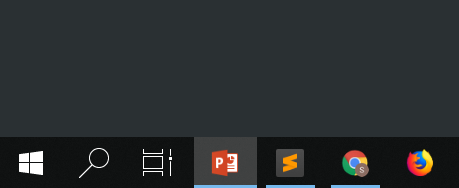
When opening a program in Windows, sometimes it would open itself in a position outside of the screen. Right-clicking the program on the taskbar does not work. Trying to move it to a new desktop is also futile. Using window key+arrow keys is also not making it appear. What to do then?

Below is a way to make the off-screen window appear again.

  1. Click the off-screen program icon on the Windows Taskbar to make it the active window.

    I selected Powerpoint as my active window (highlighted).

    Continue reading Making an Off-Screen Window Appear in Windows 10

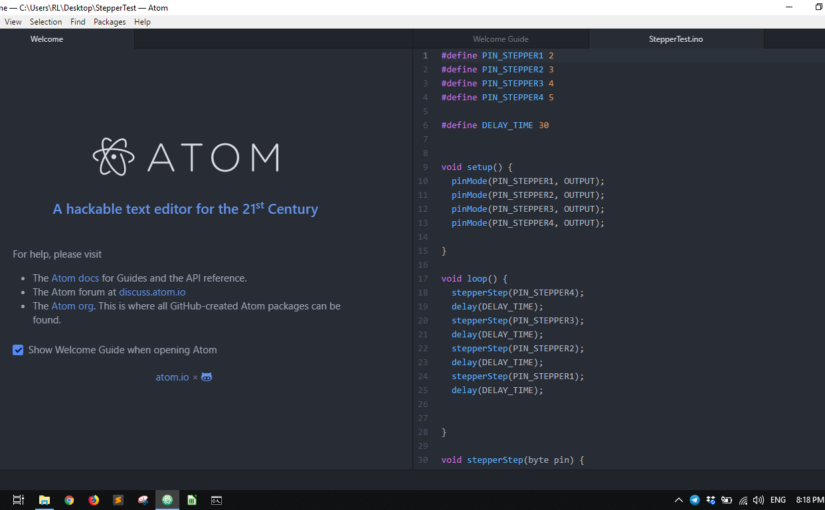
Showing “Open with Atom” when right clicking File or Folder in Windows 10

When right clicking on the File or Folder in Windows Explorer, the context menu will not show “Open with Atom” as an option. Because of this a user would need to open Atom Text Editor then Add Project Folder to see the Folder Tree on the side bar. Quite a lot of steps really.

Having a “Open with Atom” would be a time saving feature.

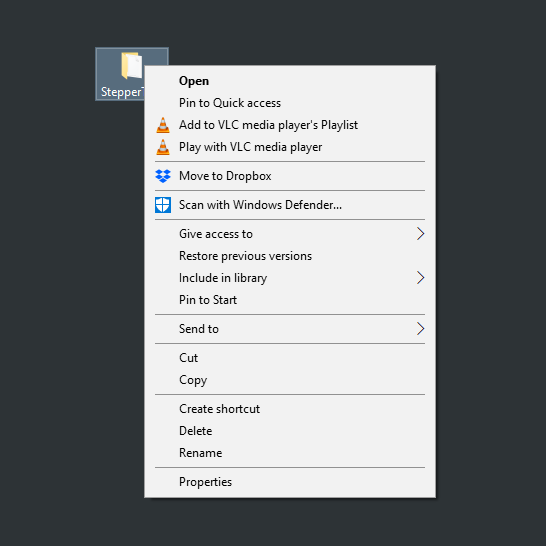
Context Menu for Folders


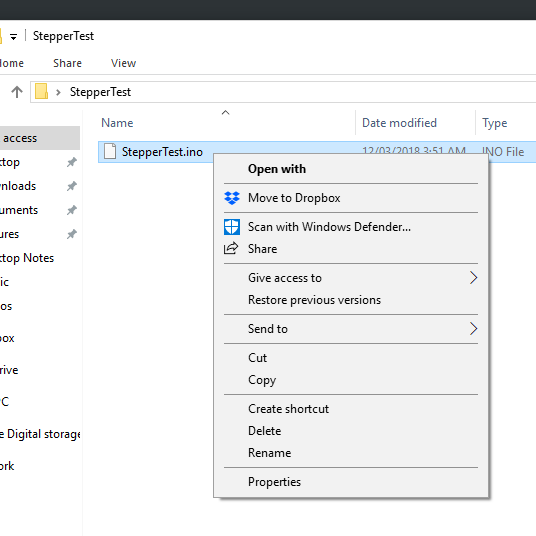
Context Menu for Files

The Context Menu is the menu that you can see every time you right-click a file or folder in Windows Explorer or Windows Desktop.


Is there a way to add “Open with Atom” on the context menu when you right click on a file or folder?

Yes, there is. Follow the instructions below. Continue reading Showing “Open with Atom” when right clicking File or Folder in Windows 10

How to use Synergy on Raspberry Pi

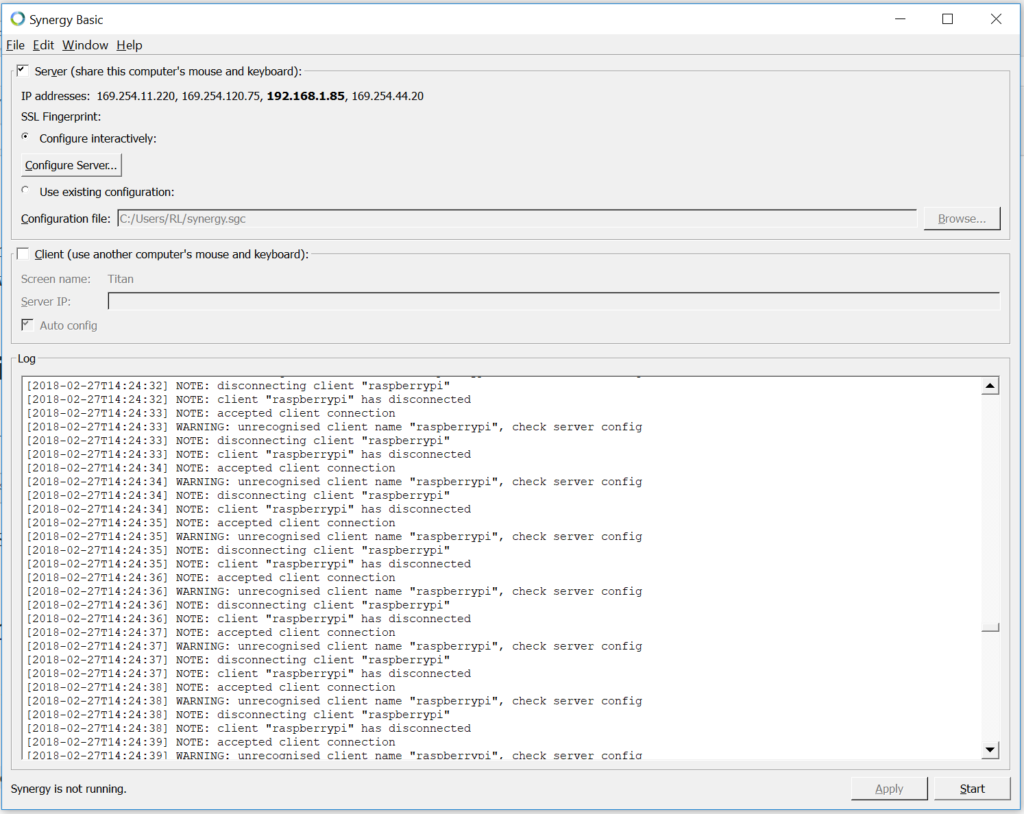
I have always used Synergy when using multiple computers since I do not want to use a lot of hardware (mouse and keyboard) to control all my unit. When I first received a Raspberry Pi the first thing I did was make Synergy work.

Here is the configuration that I use when working with Raspberry Pi.

  • Client – Raspberry Pi (to be controlled)
  • Server – Laptop where the mouse and keyboard will be used (Windows/Mac)

Screenshot of Synergy on a Windows computer.

1. Installing Synergy on Raspbian

Open the terminal and run the code below.

sudo apt-get install synergy

This will install Synergy on the Raspberry Pi along with its dependencies.

Continue reading How to use Synergy on Raspberry Pi

Making an SD Card as Permanent Storage in Windows 10

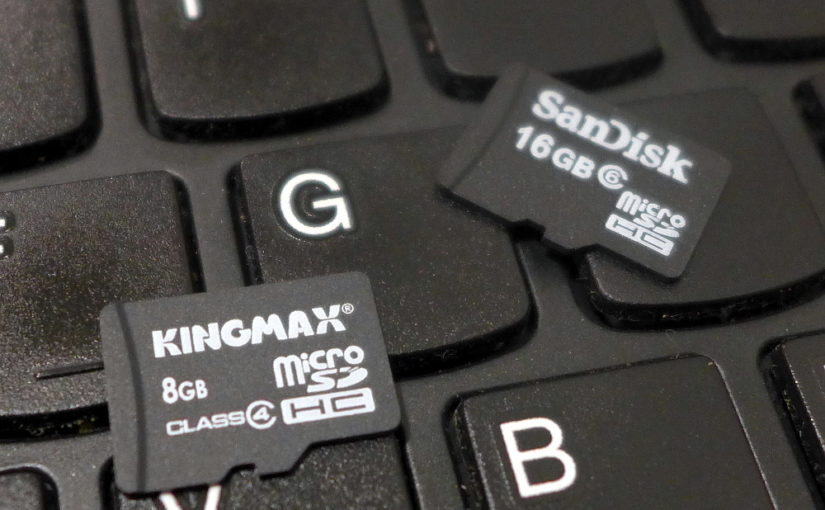
I am using a laptop which only has 32GB for its main storage. Unfortunately, this becomes full quickly if I will be installing a lot of programs and add some cloud storage to it.

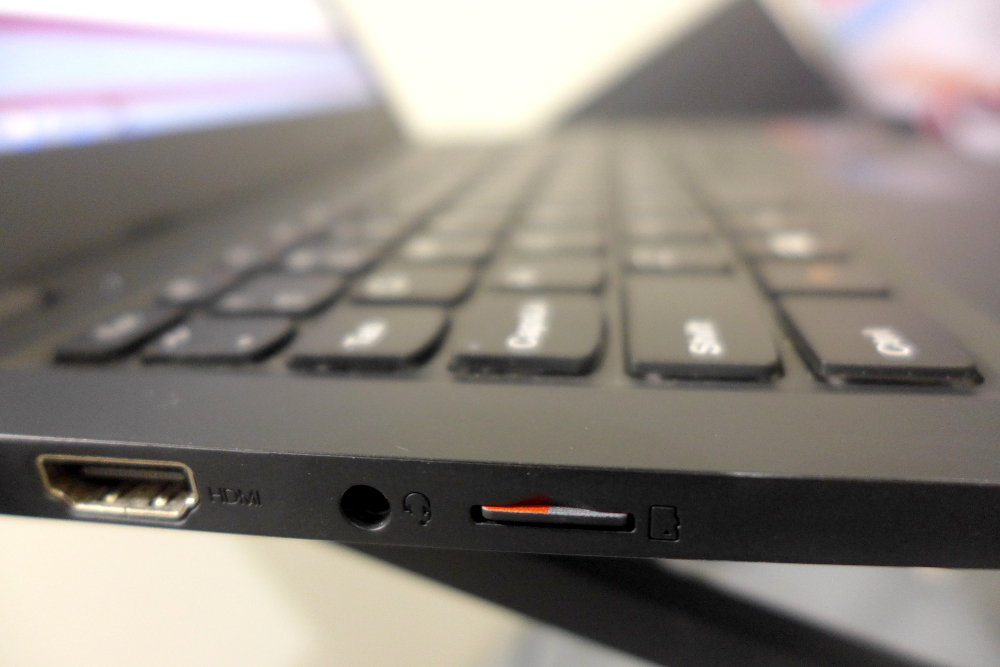
Fortunately, the computer has a microSD Card slot which I can use to expand my storage, but I could not install programs or put my cloud storage directory to it since it is not recognized as a Permanent Storage by Windows.

The microSD Card slot on my laptop

Do not worry, though, there is actually a way to make the Windows see your SD Card as a Permanent Storage. Below are the steps that you need to do.

Note: This tutorial would also work on Windows Tablet who also has the same problems as I have.

1. Make sure that your SD Card is formatted to NTFS

To be able to mount the SD Card as a Permanent Storage it must be formatted to the same file system as your computer’s main storage file system. For Windows 10 case the main file system is NTFS.

Usually SD Cards are formatted in FAT32 but let us check first. Continue reading Making an SD Card as Permanent Storage in Windows 10

Gizduino Patch Installation in Windows 10

There are two ways to install Gizduino in the Arduino IDE. One I have already written here, and the next method is written on this post. Personally, this is my favorite method of installing Gizduino as it shows a better description in selecting the Gizduino Boards in the Boards Menu.

Note: The steps below can also be used for Windows 7 and Windows 8.

If you are wondering how to install Gizduino in Windows then just follow the steps below.

1. Install the latest version of the PL2303 Prolific Driver for Windows

http://www.prolific.com.tw/US/ShowProduct.aspx?p_id=225&pcid=41

2. Download and Install the latest Arduino IDE release

Link to the Arduino Software: https://www.arduino.cc/en/Main/Software

Arduino IDE Windows Installer

Author’s Notes:

As of writing the latest Arduino IDE is 1.8.5. I prefer to download the non-install version (160 MB download). Just unzip on your preferred location on your drive, run the arduino.exe and wait for the Arduino IDE to initialize.

When unzipped it occupied around 399 MB of space in your drive. Then you can delete the zip file once unzipping was finished. Continue reading Gizduino Patch Installation in Windows 10

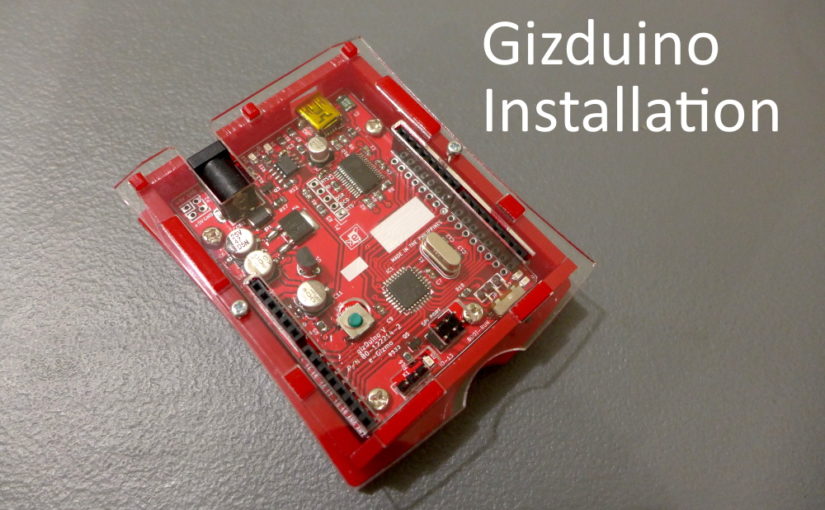
Gizduino Installation in Windows 10

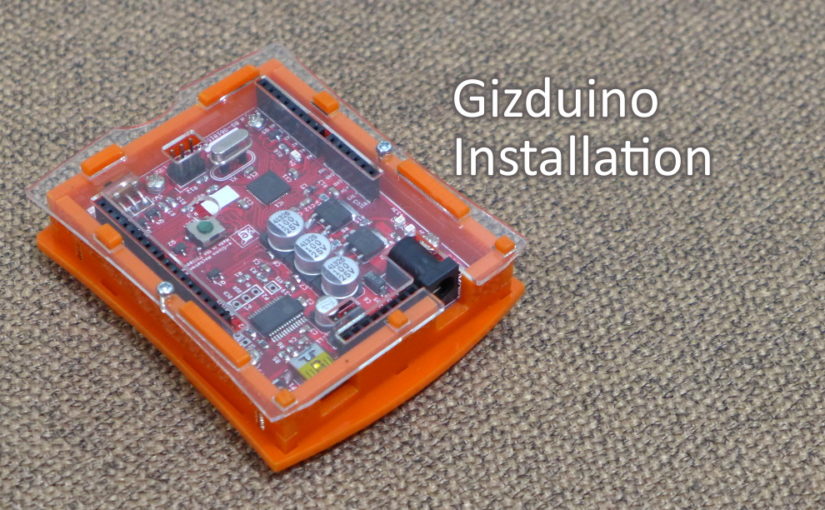
I have my own Arduino Uno but most of the time I use a Gizduino since this is cheaper and easier to source here in the Philippines.

  • Arduino Uno (1,299 Pesos)
  • Gizduino+ mini with ATmega328 (735 Pesos)

If you are looking for a Gizduino you may purchase them in the e-Gizmo website (https://www.e-gizmo.net/)

To use the Gizduino, you will need to install the Arduino IDE to your Operating System and install the Gizduino Boards. Below are the steps for Gizduino Installation.

Author’s Note: The installation method below also works for Windows 7 and Windows 8.

1. Install the latest version of the PL2303 Prolific Driver for Windows

http://www.prolific.com.tw/US/ShowProduct.aspx?p_id=225&pcid=41

2. Download and Install the latest Arduino IDE release

Link to the Arduino Software: https://www.arduino.cc/en/Main/Software

Author’s Notes:

As of writing the latest Arduino IDE is 1.8.5. I prefer to download the non-install version (160 MB download). Just unzip on your preferred location on your drive, run the arduino.exe and wait for the Arduino IDE to initialize.

When unzipped it occupied around 399 MB of space in your drive. Then you can delete the zip file once unzipping was finished. Continue reading Gizduino Installation in Windows 10