SD Card Partitions when installing Raspbian for Raspberry Pi

From the very start that I used a Raspberry Pi I have always been curious about how it partitions the microSD Card every step of the Raspbian installation to running the Raspberry Pi.

You will see below on what happens to your SD Card Paritions every step of the installation to running the Raspbian on your Raspberry Pi.


Testing Parameters

SD Card Sizes

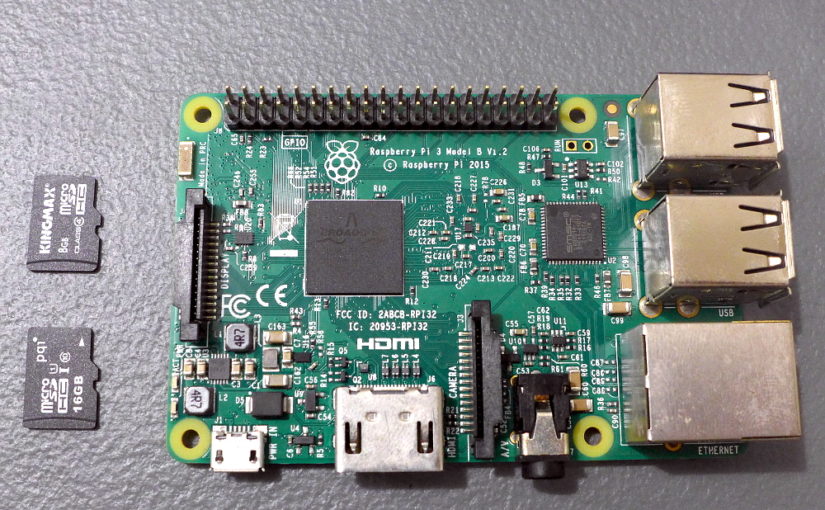
I shall be using 2 SD Card memory sizes, 8GB and 16GB. The reason for me using these memory sizes is for us to see if there are any differences on the SD Card Partitions depending on the SD Card size.

Checking of the SD Card Partitions

I shall use Partition Wizard on Windows 10 to check the SD Card partitions as it has a graphical representation of the different partitions and it can detect Linux and Mac file systems. Continue reading SD Card Partitions when installing Raspbian for Raspberry Pi
Raspberry Pi: Installing Raspbian Without a Monitor or Keyboard

Here is a tutorial on how you can setup Raspberry Pi without a mouse or a keyboard.

Most of us today only have laptops. We do not own a monitor nor a keyboard. But that should not stop you from trying Raspberry Pi. You can actually setup and use a Raspberry Pi without the monitor or a keyboard.

Note: I also find it annoying to setup a lot of wires just for the monitor and keyboard.

Here are the things you need to setup and use the Raspberry Pi without a screen or keyboard.

  • Raspberry Pi
  • microSD Card (minimum of 8GB)
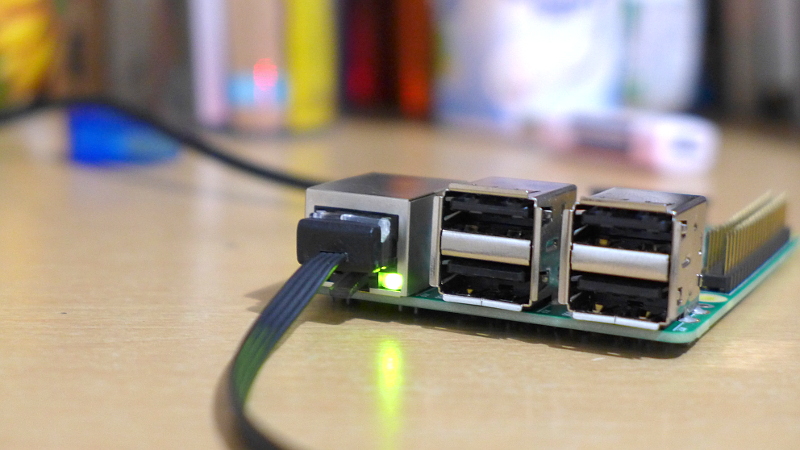
  • Ethernet Cable
  • Power cable (standard USB cable for charging Android phone with charger)
  • A computer

For this tutorial I’ll be using Raspberry Pi 3 and my computer is running on Windows 10. My SD Card size is 8GB. Maybe I’ll create a tutorial when I am using my Ubuntu (Linux).

Below are the steps to setting up your Raspberry Pi without a screen or keyboard.

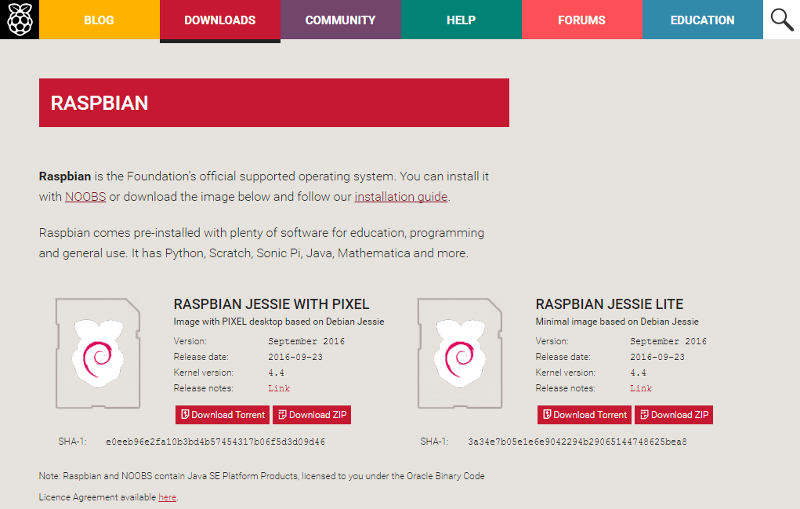
1. Download Raspbian Image from Raspberry Pi Downloads.

Raspbian Download Page - Setup Raspberry Pi without a Monitor or Keyboard

It’s up to you if you want to download the Raspbian Jessie with Pixel (desktop) or Raspbian Jessie Lite (for minimal installation).

For this example I will be using the Raspbian Jessie with Pixel. But if you want to install the Raspbian Jessie Lite the steps would be the same.

Note: The name Jessie changes for every major upgrade of Raspbian. The name before it was Wheezy. Continue reading Raspberry Pi: Installing Raspbian Without a Monitor or Keyboard