Whenever you install a Raspberry Pi Operating System (Raspbian, Ubuntu Mint, etc.) on an SD Card you will get two drives. One is formatted in FAT32 and the other in Linux Filesystem Format.

On the photo above here the SD card has 2 drives. E: and F:.
| E: | FAT32 | 42.4 MB Max Size |
| F: | Linux File System | ???? |
Note: There is actually a way to know what specific file system and how big it is for the Drive F:. I am avoiding it on this post as it would complicate matters.
Note: You may get a different drive for your SD Cards with Raspberry Pi OS when you insert them on Windows.
You can read more about SD Card Disk Partitions when using it for a Rasberry Pi here.
Now when you want to use an SD Card back to like using it on your Android Phone or camera, you just cannot use it by simply inserting it on the SD Card slot and turning on your gadget. You have to properly format the SD Card.
Note: If this method does not work for you, I will be writing another method for Windows, Mac and Linux systems in the future.
Problem
If you format separately the two drives (E: and F:), you will end up with two drives instead of one that has the full capacity of the SD Card.

If you want to try formatting your drives separately you can do the following.
- Right Click on one of the SD Card drives (either E: or F: in my case)
- Click Format…
- Click Start
- Click OK (Warning Window)
- Wait for the format to finish
- Repeat on the other SD Card Drive.
Note: Please be sure to only format the drives that are on your target SD Card. Formatting the wrong drive will result to data loss or deletion of your files. You are responsible for your own files.
Solution
If you want to properly format your SD Card you will need to use the Disk Management Utility of Windows. Follow the instructions below.
- Opening the Disk Management Utility on Windows
- Deleting the Volumes
- Creating a New Volume
1. Opening the Disk Management Utility on Windows
Click on the Windows icon on your Taskbar then search for <strong>Disk Management</strong>.
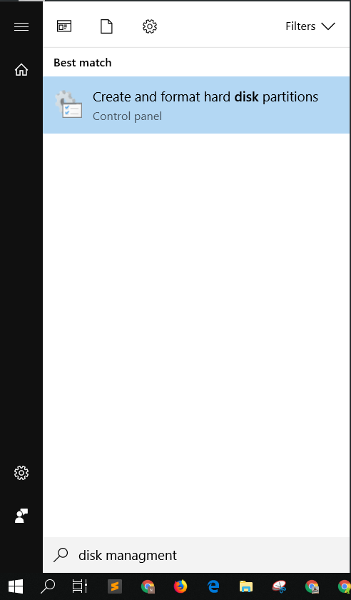
Click on <strong>Create and format hard disk partitions</strong>.
The Disk Management Window will be shown.
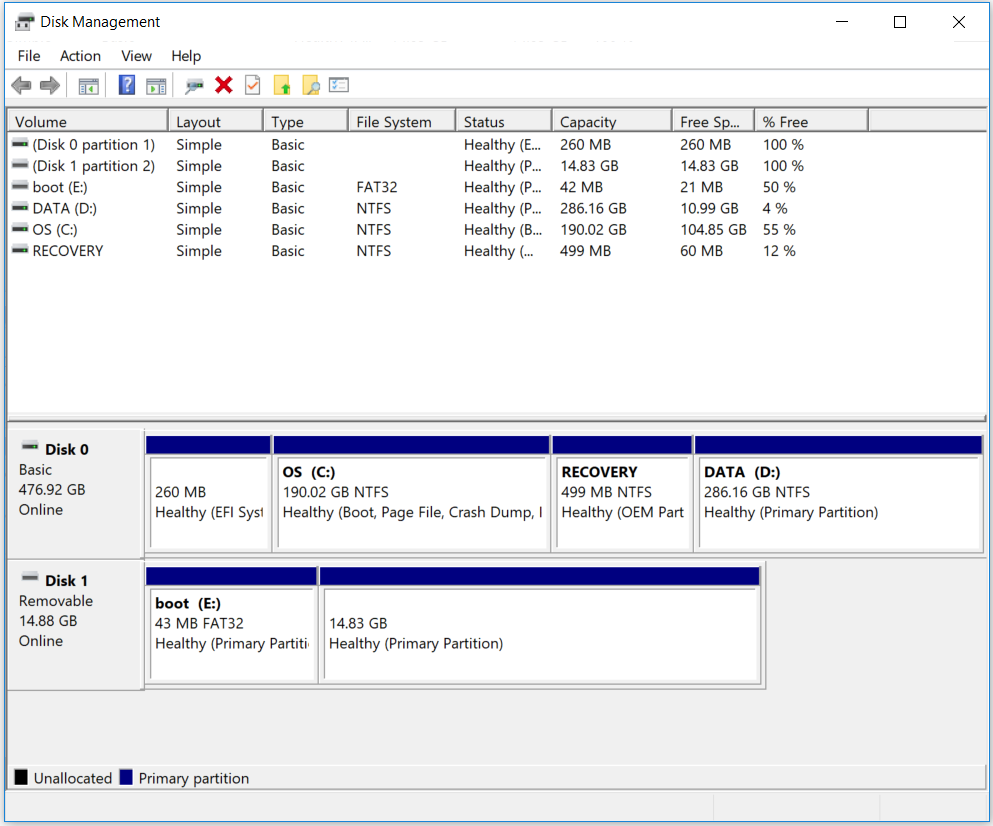
Note: The drives above have the following properties. Yours might show differently.
- Disk 0 is my local SSD.
- Disk 1 is my SD Card with installed Raspberry Pi OS.
2. Deleting the Volumes
On Disk 1, right-click on the Healthy (Primary Partition) without a letter drive. Click <strong>Delete Volume...</strong>
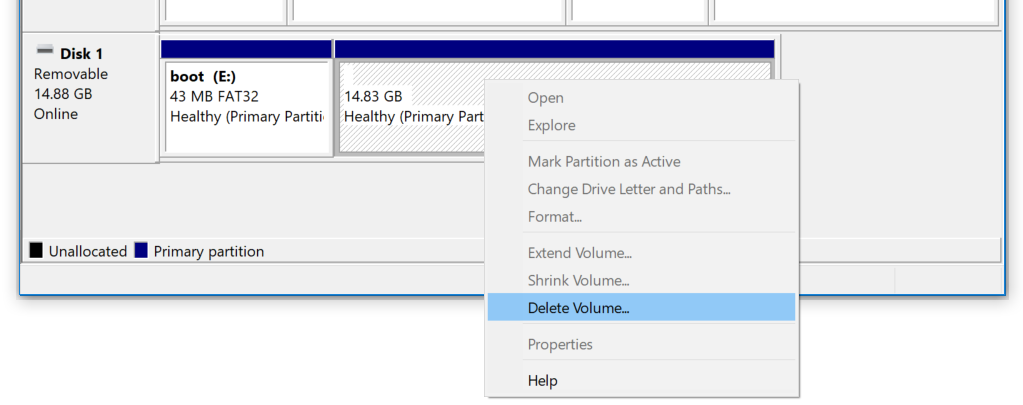
A warning will then pop-up. Click <strong>Yes</strong>.
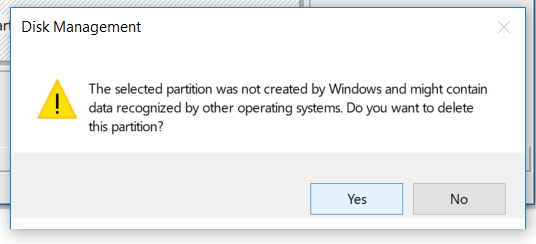
Once the deletion of the volume is finished, the deleted volume will now be tagged as Unallocated.
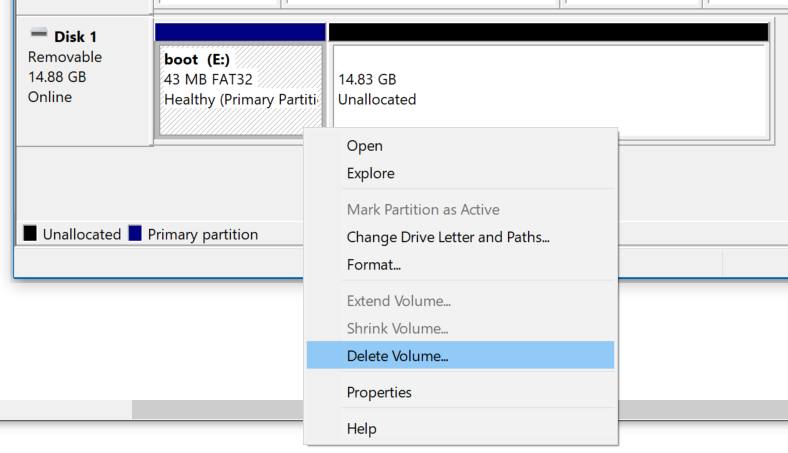
Right-click on the other Volume (boot E:). Then click <strong>Delete Volume...</strong>
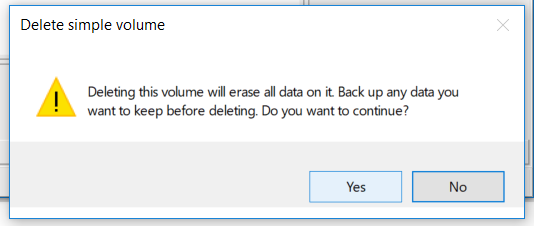
A warning windows will then pop-up. Click on <strong>Yes</strong>.
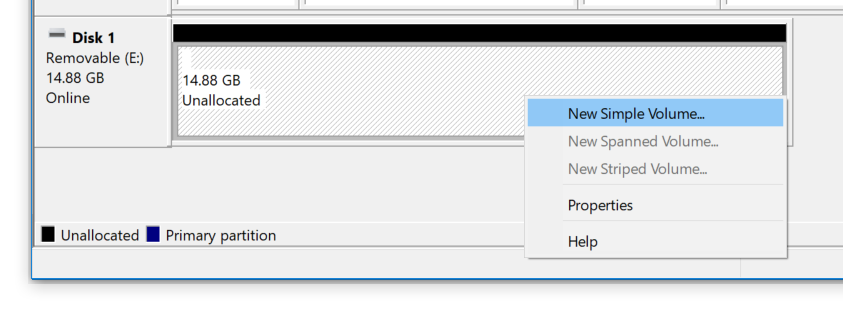
Once the Deletion of Volume process is completed, the volume on Disk 1 will only be one big volume instead of two.
3. Creating a New Volume
On the Disk Management window, on Disk 1 right-click on the <strong>Unallocated</strong> volume. Click <strong>New Simple Volume...</strong>
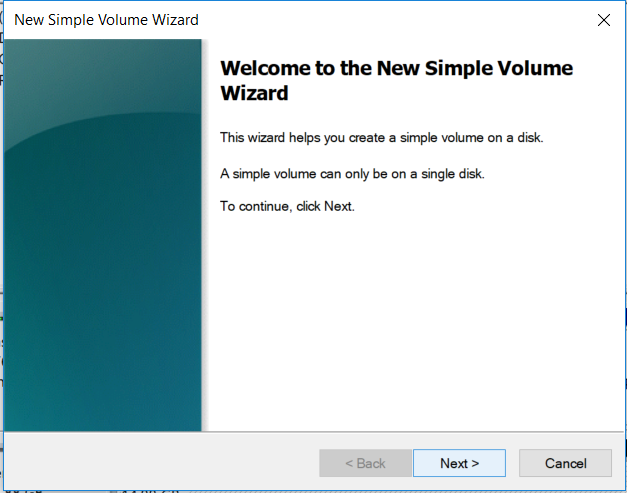
The New Simple Wizard Window will be shown. Click on Next.
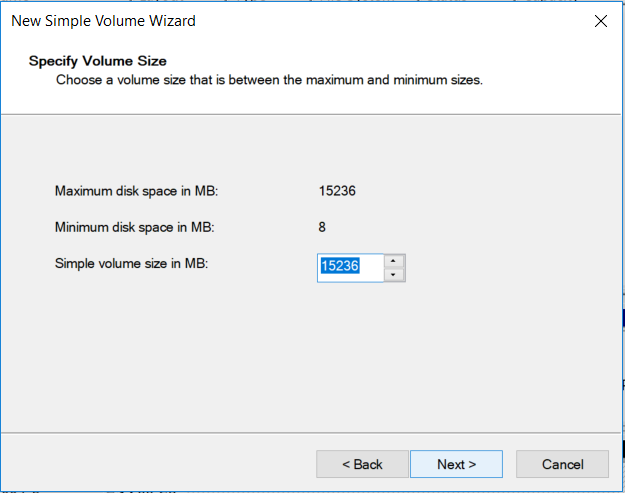
The next windows you will be asked on how big the volume you want to be. Since we want the whole volume to cover the Maximum disk space of your SD Card we do not have to change anything here.
Click <strong>Next</strong>.
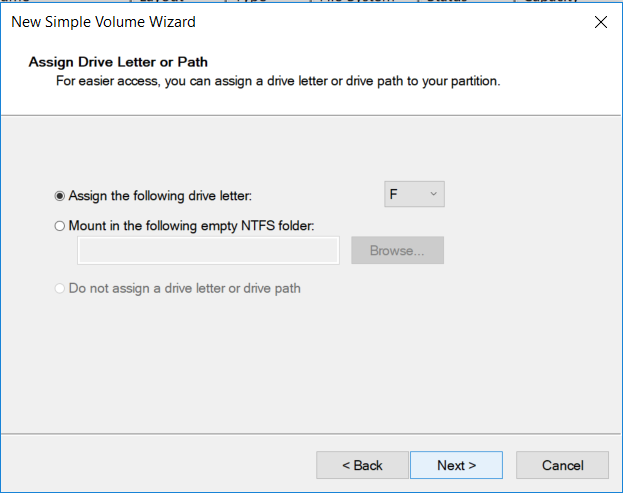
On the next window you would specify on which drive letter or mount path. This is not important for us since our only goal is to format the SD Card properly. Click <strong>Next</strong>.
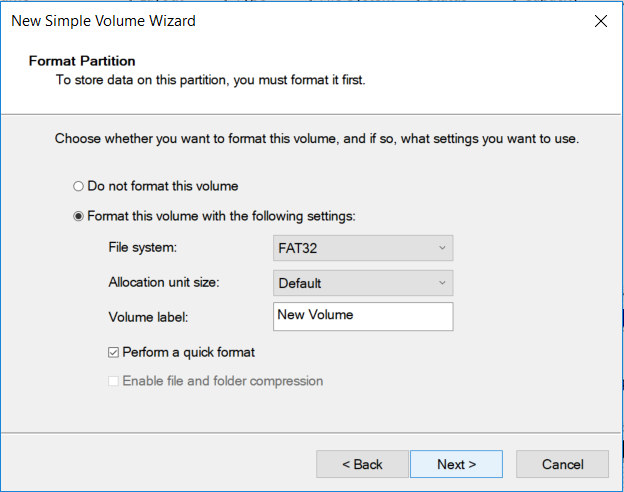
Here we want to specify the following.
- File System (FAT32 or NTFS)
You specify if you want to use NTFS file formats here. If you just want to have your SD Card formatted to the default Windows SD Card File Format just leave it on FAT32. - Volume Label
The default is New Volume. You can change this if you want.
Click <strong>Next</strong>.
Review the setting if you want to. Click <strong>Finish</strong> to start creating (formatting) the new Volume for your SD Card.
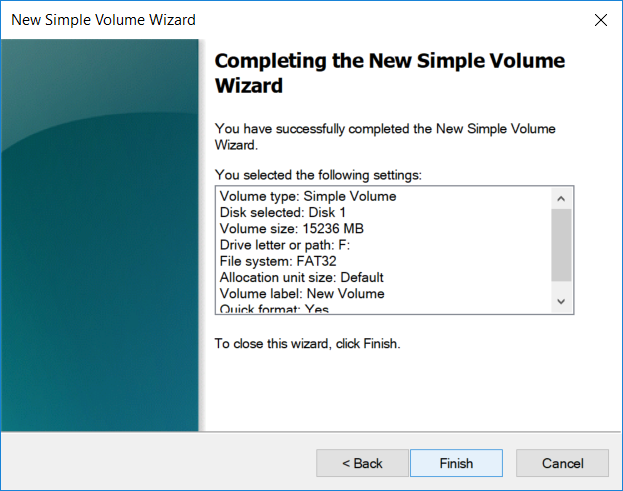
Once the process is finished you can now see a Single Volume with a Healthy (Primary Partition) status that has the same size of your Disk 1 (SD Card).

You can check on File Explorer that you can now use your SD Card fully.

I hope this helps as this has been once of my biggest problems before.
