Below are detailed instructions on how you can setup Active Directory on your Windows Server 2016.
Sections on installing Active Directory.
- Change the Computer Name
- Install Active Directory Feature
- Promote Server to a Domain Controller
- Testing Active Directory Installation
- Additional Notes
Note: You can only do the steps below if you are an Administrator of your Windows Server.
Change the Computer Name
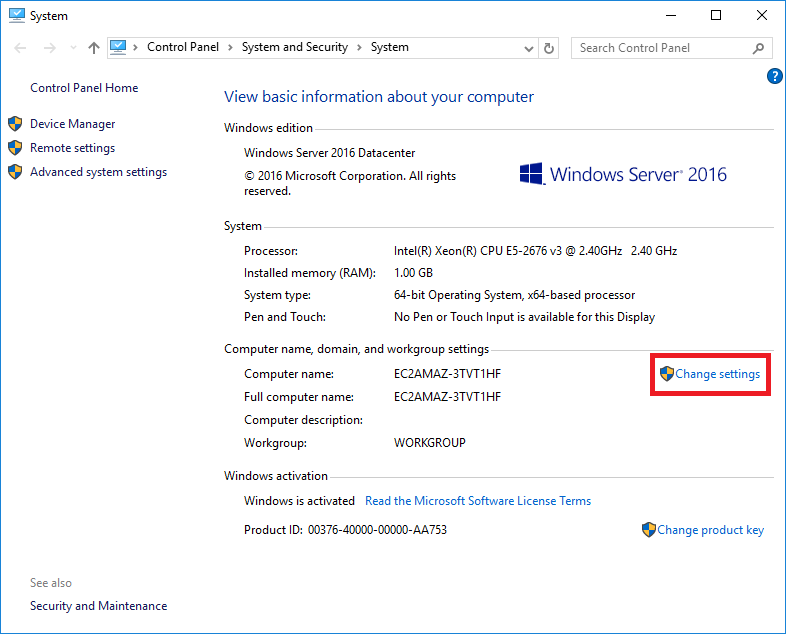
This is an optional step, but I would highly encourage you to do this so that your computer name will not be like EC2AMAZ-3TVT1HF, but a more descriptive one.
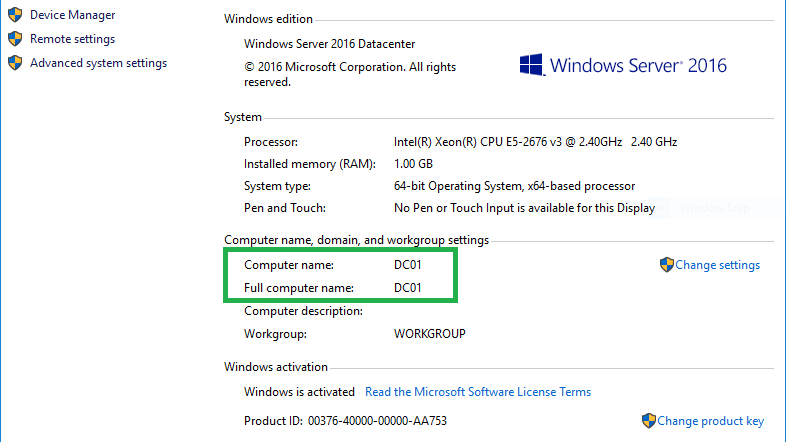
In this case since I am going to use the computer that we will setup as an Active Directory Domain Contoller I shall name my Windows Server as DC01.
In fact, you will have a lot of problem if you rename your computer after installing Active Directory. So better do it now before continuing to the next step.
Follow the steps on my post to change the Computer Name of your Windows Server 2016.
For now check the System Information page of the Windows Server.
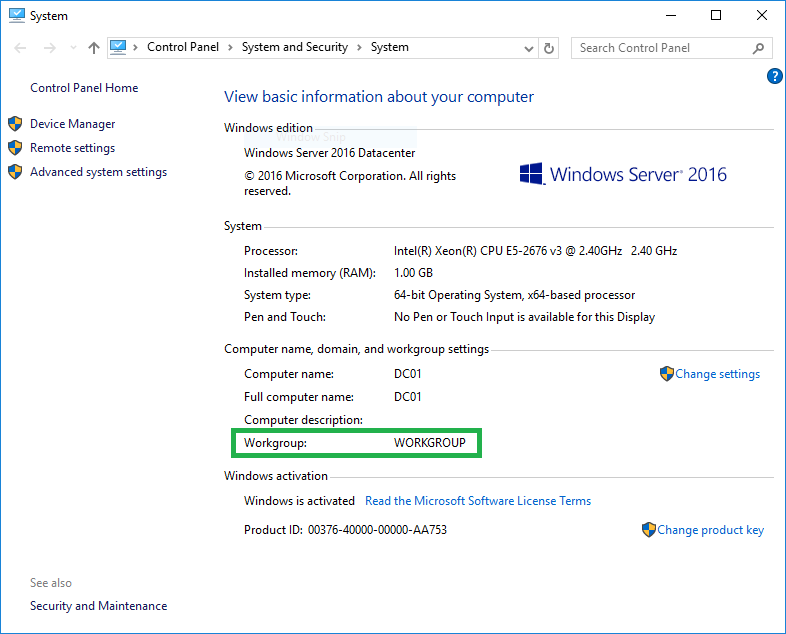
Note the Workgroup.
Install Active Directory Feature
Now that we have updated the Computer Name of our Windows Server we can now start installing Active Directory.
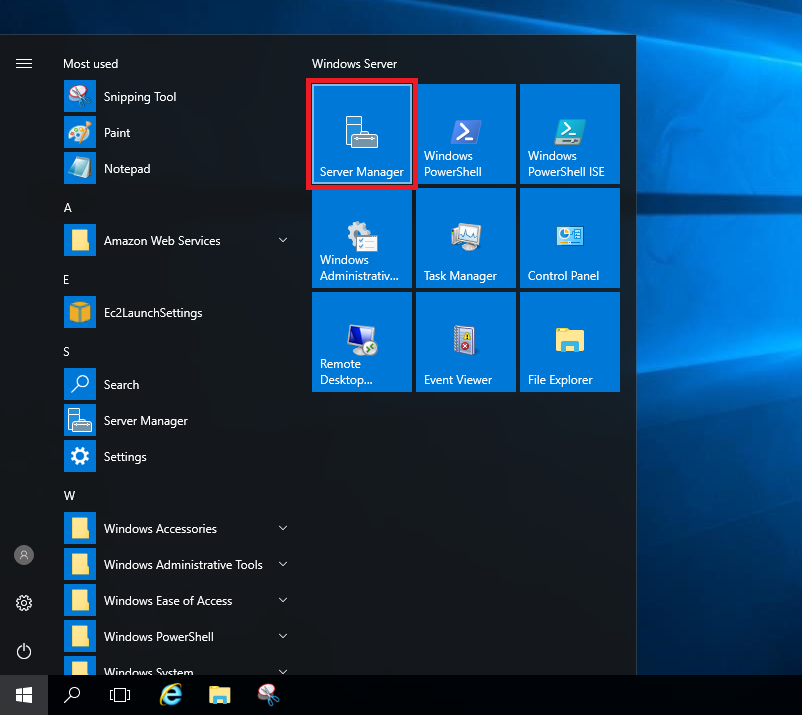
Click on the Window Icon on the bottom-left side of the screen. Click Server Manager from the Menu.
On the Server Manage Window click on Add roles and features. Continue reading Configure Active Directory on Windows Server 2016