Access AWS Lambda Environment Variables using Ruby

AWS Lambda Environment Variables are a useful way to input configuration values to your AWS Lambda runtime. Especially, when there are configurations that are different in your Development environment compared to your Production environment. Like name of DynamoDB tables or MySQL databases.

Below we discuss how we can retrieve the values of Environment Variables in AWS Lambda using Ruby.


Ruby Code to Access Environment Variables

The code for accessing Environment Variables on AWS Lambda is just the same code for accessing environment variables in your local computer or server.

Here is the code to access environment variables using Ruby.

env_var = ENV['ENVIRONMENT_VARIABLE']

If we want to get the value of an environment variable with the key of DB_HOST then we will use the code below.
Continue reading Access AWS Lambda Environment Variables using Ruby

Project Diary: Self Balancing Robot

I have always wanted to make a self-balancing robot. This post will be a diary on my journey to making one.

I’ll be updating this post as I go along this journey complete with details of the success and frustrations, pictures and expenses.


December 5, 2017 (Tuesday)

Ordered and paid for LSM9DS1 Breakout board from Circuit-Help. This one has an Accelerometer, Gyroscope and Magnetometer in a single board which would really be helpful for this project.
https://www.circuit-help.com.ph/product/adafruit-9-dof-accelmaggyrotemp-breakout-board-lsm9ds1/

After much research I saw a LSM9DS0 Breakout board in Lazada, much more expensive (₱ 1,446/pc) but has a higher accuracy than the LSM9DS1. Since I already bought the LSM9DS1 Breakout Board I just have to live with my decision.

Expenses for the day

Adafruit 9-DOF Accel/Mag/Gyro+Temp Breakout Board – LSM9DS1 ₱ 905
Shipping (via LBC Express) ₱ 160
TOTAL ₱ 1,065

Total Expense so far: ₱ 1,065


December 6, 2017 (Wednesday)

Circuit-help messaged me that they have already shipped the product. Hopefully, tomorrow it will arrive. Continue reading Project Diary: Self Balancing Robot

Installing Picoscope on a 32-bit Windows 10 and make it work

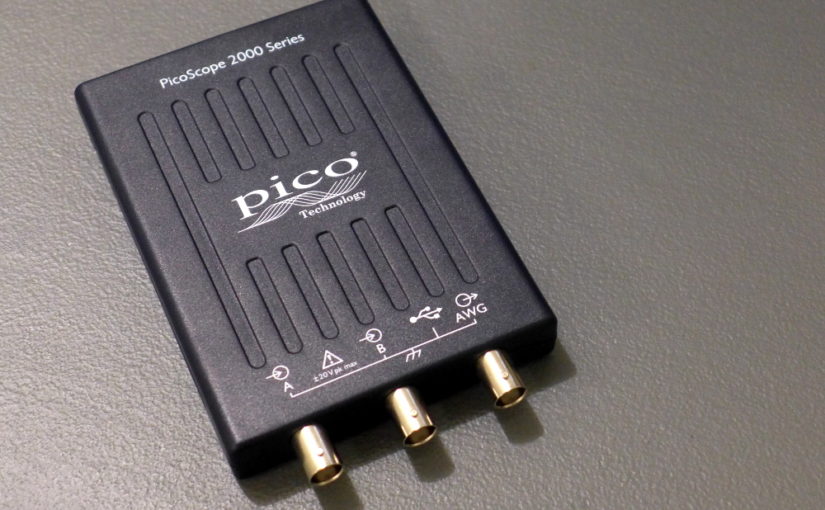
I have recently acquired a PicoScope 2205A as I wanted to have a portable oscilloscope that can be connected directly to a laptop. Unfortunately, before I could fully enjoy the features of it I had a major road block due to the PicoScope software not being installed properly on 32-bit Windows 10 computers.

Here are the features that the PicoScope 2205A has.

  • 2 channel probes for the
  • 25 MHz Bandwidth
  • Arbitrary Waveform Generator

The Arbitrary Waveform Generator is one of the reasons I loved the PicoScope 2205A because I no longer have to acquire a signal generator for simple waveforms.

Anyways, I am not here to talk about the PicoScope 2205A but about the problem with installing a PicoScope Software on a 32-bit Windows laptop. Below are the steps to install it properly. Continue reading Installing Picoscope on a 32-bit Windows 10 and make it work

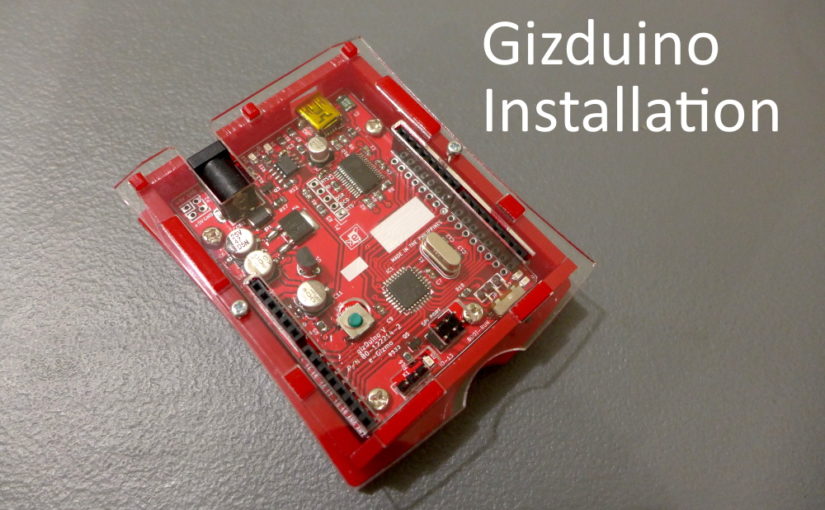
Gizduino Installation in Windows 10

I have my own Arduino Uno but most of the time I use a Gizduino since this is cheaper and easier to source here in the Philippines.

  • Arduino Uno (1,299 Pesos)
  • Gizduino+ mini with ATmega328 (735 Pesos)

If you are looking for a Gizduino you may purchase them in the e-Gizmo website (https://www.e-gizmo.net/)

To use the Gizduino, you will need to install the Arduino IDE to your Operating System and install the Gizduino Boards. Below are the steps for Gizduino Installation.

Author’s Note: The installation method below also works for Windows 7 and Windows 8.

1. Install the latest version of the PL2303 Prolific Driver for Windows

http://www.prolific.com.tw/US/ShowProduct.aspx?p_id=225&pcid=41

2. Download and Install the latest Arduino IDE release

Link to the Arduino Software: https://www.arduino.cc/en/Main/Software

Author’s Notes:

As of writing the latest Arduino IDE is 1.8.5. I prefer to download the non-install version (160 MB download). Just unzip on your preferred location on your drive, run the arduino.exe and wait for the Arduino IDE to initialize.

When unzipped it occupied around 399 MB of space in your drive. Then you can delete the zip file once unzipping was finished. Continue reading Gizduino Installation in Windows 10