I have my own Arduino Uno but most of the time I use a Gizduino since this is cheaper and easier to source here in the Philippines.
- Arduino Uno (1,299 Pesos)
- Gizduino+ mini with ATmega328 (735 Pesos)
If you are looking for a Gizduino you may purchase them in the e-Gizmo website (https://www.e-gizmo.net/)
To use the Gizduino, you will need to install the Arduino IDE to your Operating System and install the Gizduino Boards. Below are the steps for Gizduino Installation.
Author’s Note: The installation method below also works for Windows 7 and Windows 8.
1. Install the latest version of the PL2303 Prolific Driver for Windows
http://www.prolific.com.tw/US/ShowProduct.aspx?p_id=225&pcid=41
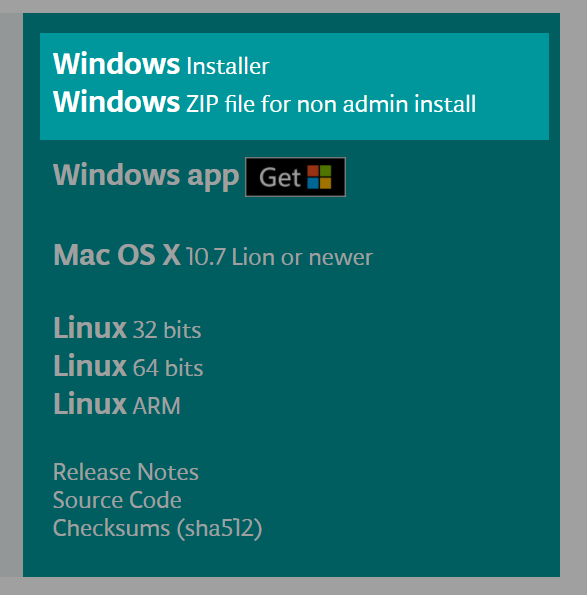
2. Download and Install the latest Arduino IDE release
Link to the Arduino Software: https://www.arduino.cc/en/Main/Software
Author’s Notes:
As of writing the latest Arduino IDE is 1.8.5. I prefer to download the non-install version (160 MB download). Just unzip on your preferred location on your drive, run the arduino.exe and wait for the Arduino IDE to initialize.
When unzipped it occupied around 399 MB of space in your drive. Then you can delete the zip file once unzipping was finished.
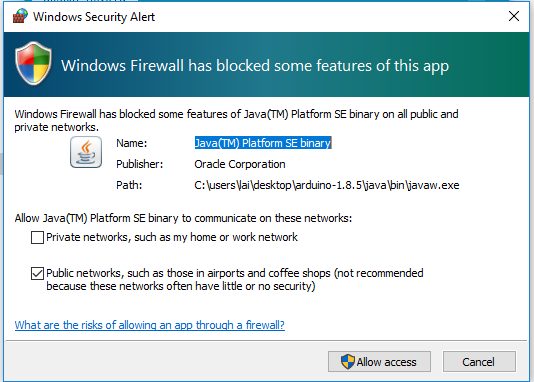
If you are prompted by the Windows Firewall press Allow Access. The Arduino IDE needs to get past the Windows Firewall to connect to the internet to update libraries and board managers.
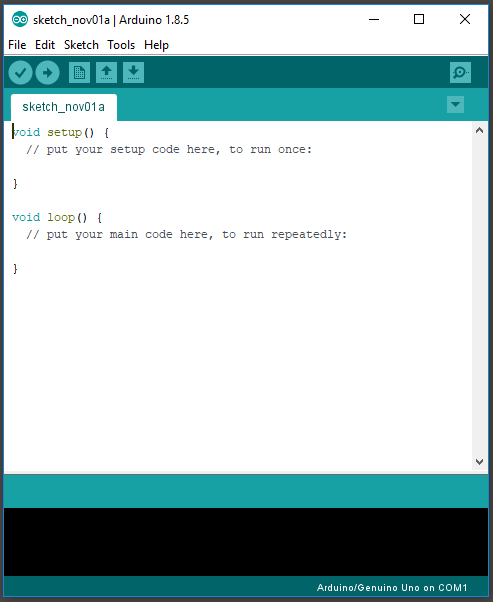
3. Run Arduino IDE and add Gizduino Board URL
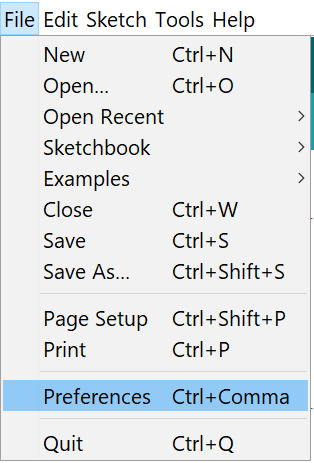
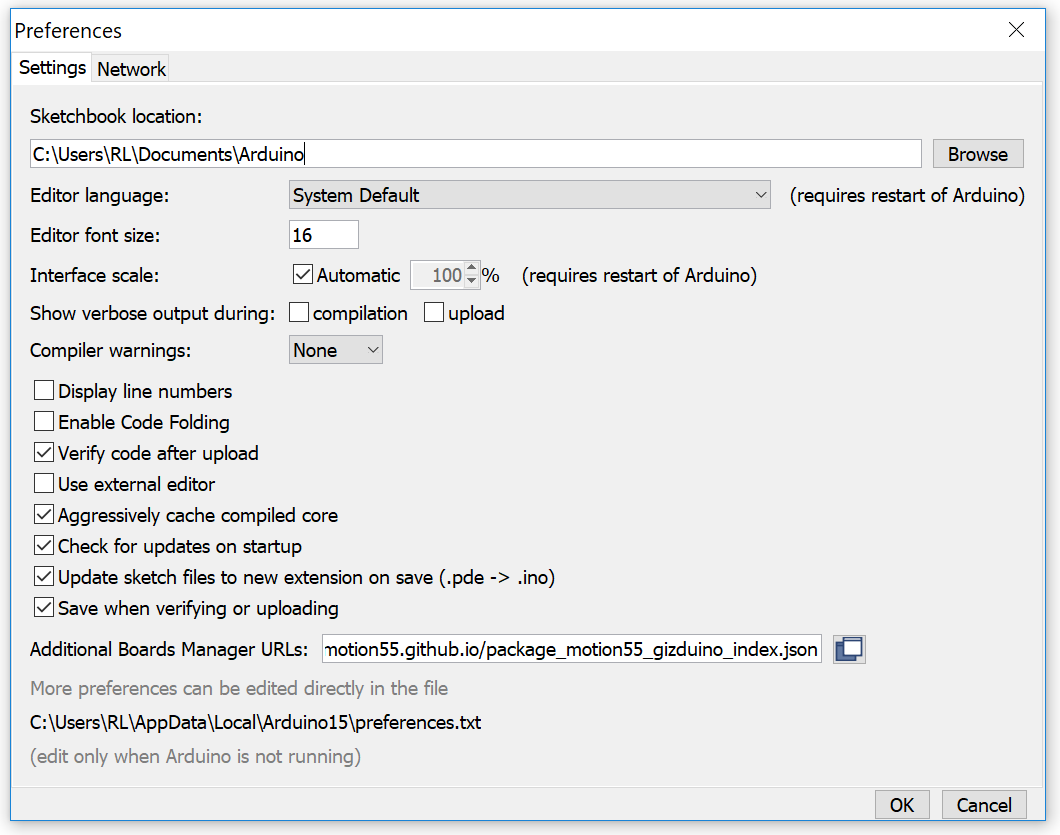
Click File >> Preferences then add the URL below on the Additional Boards Manager URL.
https://motion55.github.io/package_motion55_gizduino_index.json
4. Installation of Gizduino Boards to the Arduino IDE
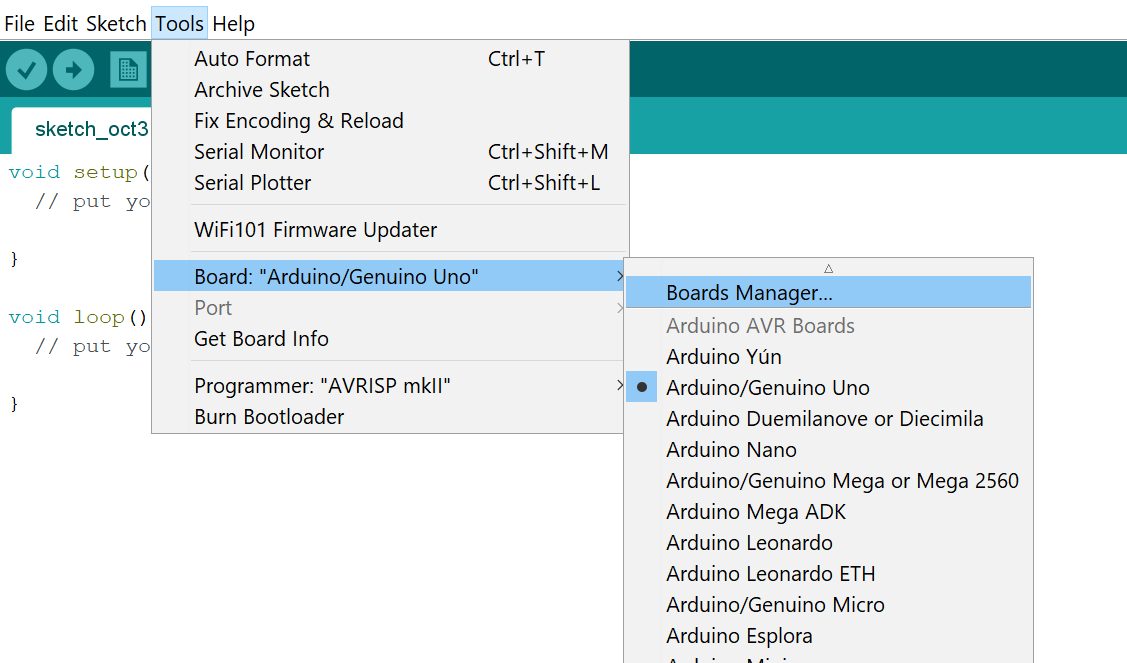
Go to Tools >> Board: *** >> Boards Manager.
Search Gizduino. Select Gizduino AVR Boards then press Install.

Once installed restart your Arduino IDe to be sure that all the system setting for the Gizduino board will be loaded.
5. Check if the Gizduino Boards were properly installed.
Go to Tools >> Boards: ***. Check if the Gizduino AVR Boards section exists with the following boards.

If the Gizduino AVR Boards section exists then you have successfully installed the Gizduino boards in your Windows Arduino IDE.
You can now use your Arduino IDE to program you Gizduino ATmega168, ATmega328 and ATmega644.
Author’s Note:
There is another way of installing Gizduino to your Arduino IDE by patching the files into the Arduino IDE directory. This alternative method is my preferred way of installing Gizduino since it has a more descriptive labels on the Boards Manager list.
I did this first because this is the easiest and less complicated way to install Gizduino.
Here’s the post on the second method of installing Gizduino Boards in an Arduino IDE: Gizduino Patch Installation for Windows 10.